There are two RAM module slots in the Toughbook CF-31, but if you have a first generation (MK1) unit, the second slot is more difficult to access and the process is a bit more involved. Since we used a CF-31 MK1 for this tutorial, we'll focus only on the upgrade slot that can be accessed easily. However, if you are upgrading a later model CF-31, both RAM slots should be accessible from the same panel.
Choosing the right type of RAM
The type of RAM module you will need to buy depends on the MK, or generation, of your Toughbook CF-31.
The RAM module specifications for the CF-31 MK1 are as follows: 204 pins, SO-DIMM, 1.5 V, DDR3 SDRAM with a speed of PC3-10600. You can install up to 4GB of RAM per slot (8GB total, if you access the secondary slot, which we aren't doing in this guide).
The CF-31 MK2 and MK3 can use the same RAM as an MK1 model, but also support the faster PC3-12800 SDRAM. Additionally, you can install up to 8GB per slot.
The CF-31 MK4 and MK5 models require PC3-12800 SDRAM and will not work with the slower 10600 modules. Like the MK2 and MK3, these models support up to 8GB of memory per slot.
Installing the RAM
Installing the RAM module is quick and easy. All you'll need is a Phillips-head screwdriver.
Step one: power down completely.
Shut down your CF-31 completely (don't put it to sleep; don't put it in hibernate), unplug the AC adapter and remove the battery pack (the door for which is located on the left side of the laptop). If you have a secondary battery pack in the multimedia pocket, remove that as well. It's also a good idea to take static electricity precautions.
Step two: remove the panel on the bottom of the unit.
Turn the laptop over.
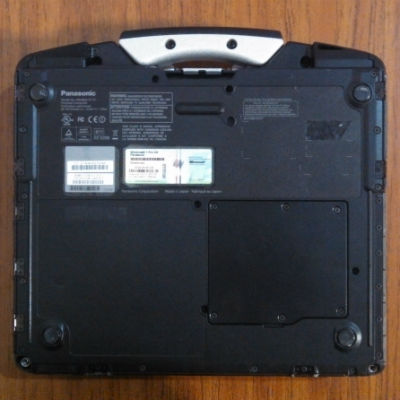
There are six screws to unscrew.
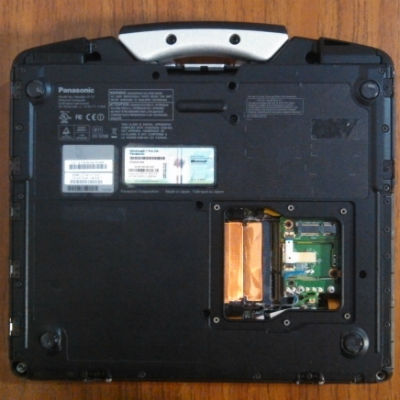
Voila!
Step three: if there is a RAM module in there, remove it.
If there isn't a RAM module in there (like in the picture above), then you can skip this step. If there is a module in there that you want to replace, you'll see that there are two clips holding it in.

Gently push the clips outward to release the module, then slide it out.
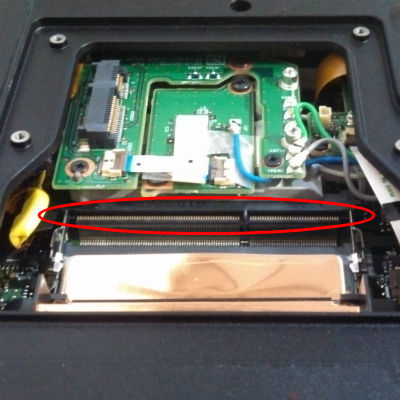
Step four: insert upgrade RAM module.
You'll notice that there's a bar in the slot that corresponds with a notch in the RAM module. This ensures that you correctly orient the module (it will only go in one way, so don't force it).
Insert your RAM in the slot. (Do it gently; don't RAM it in! Har har har.)
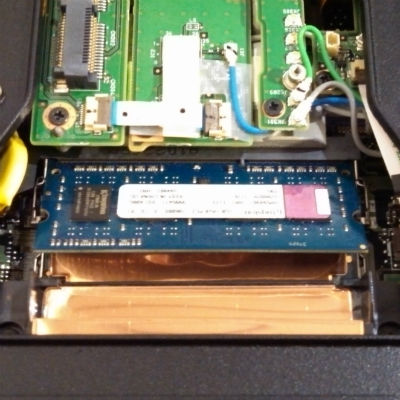
Push the module down just like you'd close a lid. The clips will automatically latch on when it's all the way down.
Step five: finishing up.
Screw the panel cover back on, insert the battery, plug it in and boot it up. You're done.